Monday, March 26, 2012

Duck, Duck, Duck


For the last few years, I have had some ducks. Initially I just purchased from our local ag store some ducklings.


By chance I happened upon choosing two of the preferred breeds for the area I live in. I encourage people to take the time to read about the characteristics of each breed. Not all ducks are the same.

Since I live in a very cold wintery area (-50 degree night time temps possible) it was critical that the breeds I selected were suitably cold-hardy.

The Mallard breed of course is one such breed, but so is the Black Swedish duck or the Blue Swedish duck. If you want more egg production though, you may want another breed. If you are wanting a brooding type duck, you will want to consider different breeds other than the Swedish however.

I primarily want ducks for meat, but also for eggs. So I want cold hardy dual purpose breeds or at least some that are cold-hardy and prolific egg producers, while others are cold-hardy and good brooders, so that those hens can become the foster mothers of the egg producers.


To accommodate hatching success, by a foster mother, I've decided to add muscovy ducks to my flock. My first flock was a mix of mallard, black swedish, & blue swedish. However, rather than just deal with those breeds, I've decided to use mallard hens, swedish hens and muscovy hens, bred to muscovy drakes. This way the offspring will be meat animals, but my hens will maintain their own breed's qualities.


I've taken an old wicker trunk and cut into its side wall, to create a nesting box for the hens.


The new additions to the flock aren't the only ones to be arriving this year. I will be also getting some young ducklings via an order from Ideal hatchery, that I made earlier in the spring. Those will arrive at the end of April. In preparation
I have made a home-made brooder.


It is made from a reclaimed plastic tub, that is missing its lid, which I wouldn't have used for this purpose anyhow. I got the tub from the Habitat ReStore. I drilled two small holes near the rim of the tub, and threaded some synthetic twine through the holes.


Then mounted a window screen, that I had also spaced holes along its framework, to match the holes in the tub. By so doing, I'm able to make a hinged screened lid. The screening is wire, thus reducing any risk of the heat lamp melting the screening material (which could happen with the plastic screening materials).


The clear walls of the tub will allow me to readily view the ducklings without disturbing the lid. It also prevents drafts from crossing over the young birds. I added a small thermometer to monitor the temperature.

The thermometer is a small wall mounted styled unit that I usually had hanging out on my porch. Nothing fancy about it, but it works!

I want to be able to read the temp, when the lid is down, so rather than have it facing into the tub, I chose to mount it facing toward the wall of the tub, and I merely read it through the clear plastic.


My mounting material that I used to adhere it was duct tape. But I'm not sure if that is a good choice, with young curious ducklings who will likely peck at it. We shall see! Otherwise, I may have to find another way to mount it.

Saturday, March 24, 2012

Old Frames to Cold Frames

One of the techniques I have used recently, is the recycling of old window frames. Not just window panes, but window Frames. The entire window unit, that is pulled out of houses that includes the aluminum framing and wood structure that frames the window.


This frame system acts as my future cold frame and the aluminum window track and window acts as the cover to the cold frame.

I simply placed the window boxes directly onto the ground, then I place landscape cloth or recycled carpeting down, within the framework, as a weed barrier. Recycled carpeting is easy to obtain, especially that being pulled out due to age or stains. This can be placed nap side down, into the window box. This allows water to drain through the carpeting, but prevents weeds such as crabgrass and other determined weeds from taking over the bed.

Once you have the weed barrier in place, take and fill the box with whatever planting medium you want. To make the best of each cold frame, I encourage you to consider the micro-environment that each type of plants wants. Root crops, for example prefer a sandier soil. By providing them their own "micro-environment" when it comes to soil, you can get more out of your cold frame than simply a longer season of growing.

Once I have added my garden soil, I take and plant my young cold hardy transplants, such as broccoli, cabbage and brussel sprouts.


For those frames without complete sliding windows, I use old storm window panels, that are simply layed over the frames each evening and set aside during the mornings, on fair weather days. This allows my plants to be protected from night time cold snaps.


Its my hope to grow various plants, especially cool crop plants and "salad" crops in frames that will allow me to push them further into the cold seasons of early spring and late fall.

Currently one frame is planted with pumpkins, which allowed me to plan the pumpkin much earlier than normal.


Another frame holds broccoli.


And a third holds brussel sprouts and leaf lettuce.

Thursday, March 22, 2012

Hidden Potential - a space for a pantry

Its spring showers today, which is greatly needed. So I'm focusing on indoor projects. I've been working to organize a pantry storage area that will be tucked under the stairs and take a portion of the old bathroom space. It will be a great spot for storage of canned goods and seeds, etc since it has no windows and is along the north side of the house. The old bathroom space tended to be colder then the rest of the house, which wasn't favorable for anyone using the bathroom but will be quite beneficial for a "root cellar" style storage space.


We first had to remove all the cabinets and stored things that were placed in the space.


Then following the clearing out of the space, we have to begin removing the old plaster wall that separates basement landing (entrance via the kitchen) from the future pantry. The space is ideal for cold storage (ie root cellar storage) since it stays a little bit above 34 degrees in winter and in summer is in a cool north area of the house.


We are also looking at opening up some of the unused space under the stairs, in the area of the basement staircase access. This area will be housing reclaimed drawers that will hold various items that normally take up space in the "junk drawer" and items such as specialty utensils used for canning or food processing that is only used during short periods of the year and stored the rest of the time. Moving them from the main area of the kitchen storage just makes sense, while at the same time keeping them readily available to the kitchen.


With access from the kitchen, via the basement landing, we will be able to place "long term" storage items such as canning supplies and surplus canned goods in the area. My major goal is to place the large cooking pots, slow cookers and other appliances that are only used occasionally, on large shelves in the back area of the pantry. Thus freeing up the kitchen cabinets for more frequently used appliances and supplies.


Another aspect of the space is "root cellar" storage.


Many people are unaware of how long carrots, cabbage, winter squash and other produce items can be stored on shelves or in crates, if placed in a cool dark space. By purchasing onions, potatoes, cabbage, winter squash, carrots and other long storage produce (research which kinds keep well), during their peek of season, I can stretch my purchasing power even further.

Those mentioned above don't require canning equipment to store. Merely a dark, dry, cool space with plenty of air circulation around the stored produce. Some reading is important so that you know how to store each type of crop and what not to store it near. Some crops need a higher moister content, while others need a dry environment. But with a little reading, you can learn how all these needs can readily be met.


You can find numerous sources talking about methods of produce storage:

(1) Storing Vegetables
and Fruits at Home

(2) Stocking the Root Cellar
It's not just for tubers anymore

(3) Storage of Home-Grown Vegetables

(4)http://romanyrest.net/homegrown.aspx

(5)Successful cold storage

(6)Root Cellaring Primer

(7)TOURING ROOT CELLARS ,

(8) The Return of the Root Cellars,

(9) Home Storage of Fruits and Vegetables in Root Cellars ,

(10)Root Cellars: Post Harvest Treatment & Low Cost Storage of Produce

Even fruits such as apples, pears, grapefruit and oranges can be stored. Making the need to buy these fruits and vegetables at their higher out-of-season prices less common.

Will try to get pictures posted asap.

Friday, March 16, 2012

Wood Scraps

Wednesday I spent the whole day working outside since we had a beautiful warm day with lots of sunshine. It was perfect weather for working on some of the small construction projects I had planned for this spring.

I started with the rabbit hutch I have been planning on building.
I want single rabbit hutches that would be adequately large enough for one doe and her litter. Also by having the hutches built as singles, I'm hoping they will be easier to move around the yard to the most suitable locations.

The whole hutch is made from scrap wood as part of a project for Earth Day and the Brookings Area Habitat for Humanity Restore. Most of the 2x4s, and 1"x8" boards came from the Habitat ReStore.

The greatest challenge has been getting enough scrounged hardware wire. I had enough in my own stockpile of scrap wire to cover the floor area, but I will have to work at finding some elsewhere for the three sides (front, and sides).

The other issue I may want to change in the future is the eave.


I made the eave quite large, figuring it would be best to have a large eave to keep sun and rain from entering the cage. But this leads to another issue. Access for cleaning. By having the eave larger, having a traditional door on the front of the cage makes cleaning cumbersome as it will make the human (me) having to kneel or crouch while digging out the filth of the cage. I'm considering the idea of making the cleaning access door on the side where it isn't traditionally, but also there is no eave.

By placing it on the side, I can also make it so I can readily chase the bunny into the boxed area and shut her in, while preparing to clean her cage area, as I similarly do with my duck tractor. This would make escaping rabbits less likely.

The frame of the hutch is made from 2x4s, secured together with long wood screws. I then worked on the wall board that separates the caged area from the nest box. I used a salvaged board and notched it to fit around the framing boards so it would make a tight fit.

I then began cutting and placing the roofing boards into place. All the boards used to make the roof were salvaged boards.


Once I finished the roof, I worked at fastening the hardware cloth flooring into place.

Its been recommended by Eric that I consider adding at least one, if not two,
support braces through the middle of the flooring space, to help hold up the hardware cloth, which I believe may be a wise idea.

While the hardware cloth is strong enough to hold one rabbit, once you have an entire litter of half grown rabbits in the cage, it may not be quite enough support currently.

Its been a fun learning project. Its not a pretty hutch, by no means. But the challenge of making it myself from scraps of wood scrounged from here or there has made it an interesting challenge.


Once I get all the wire in place and the back wall of the nest box in place, I still will need to paint its exterior and add some sort of roofing material to keep out moister.


I used trim boards to cover the sharp edges of the hardware cloth wire, so that I won't be stabbed by the ends when working around the hutch. The trim boards I had, happen to be white, so its taken on a very bright color for the time being. I'm sure with a little "help" from the rabbits, that won't be the case.


I have already reclaimed some old fiberglass panels that are green in color. I believe that it would be much lighter to use one of those panels than it would be to use the salvaged roofing shingles, like I had done on my duck tractor.


The one thing I can say to anyone thinking of making chicken or duck tractors or any other backyard devise that will be moved around the yard, remember WEIGHT! I'm of average body type and its a struggle to move the old duck tractor even a few feet because of the amount of shingles it has nailed to its flat roof. It would have been better, in my opinion if we'd made a sloped roof and used tin or fiberglass panels to roof it. But one learns as one works on these little projects.

The hutch is elevated so that I can place tubs underneath the hutch, to collect rabbit droppings and plant matter that they may drop as they eat. This waste material will be used in two ways within the yard. The first method is to directly place my red worm bins under the hutch during warm summer months and allow the worms to feast on the waste that is coming from the hutch.


The current design of the hutch would allow me to place two tubs under the hutch. Giving me greater opportunity to raise red wiggler worms and thus my own composting agents (and the excess worms can be fed to my poultry at the end of summer as additional protein).

The worms feed on plant matter and manure from plant eating animals such as rabbits. The by-product of the worms is commercially called "worm castings" and is considered a highly fertile potting soil and composting material. The worms live out their entire lives in the tubs, growing from small white specks (eggs) to white wiggling worms

(that I call nursery worms. If you look closely you can see in this photo small white worms looking like threads) and later they grow into larger red worms.


The second method is to collect compostable waste material during the winter months and place it into the compost bins that are located near my garden. By having the legs of the hutch high enough to permit tubs to be slid under the hutch, it reduces my time in raking and clearing the deposits of droppings & other matter from under the hutch come spring. It will make it much easier to keep their area clear of waste material and making collection and removal much quicker. (At least that's the theory).

If anyone notices, Yes the leg appears tilted. It is. The 2x4 that was used had a slight bow. At the initial inspection it didn't seem "that" bowed and so I used it. But once it was secured into place, it was clear it was quite bowed. However, I was tired & didn't want to work to remove it. So I chalked it up to another lesson learned. I have at least three more hutches to make and will be more careful in picking which 2x4s are used for legs. This one will be a test of how long a curved board will function if placed up against a building.

Thursday, March 1, 2012

Gray Skies, Ice, Freezing Rain & Snow

Today its rain, freezing rain, ice on everything and gray skies to make it gloomier than every outside.


Ice formed on all the east windows' screens, completely blocking out visibility. Everything was covered in a sheet of ice, then snow was added onto that.


Good day to focus on indoor things!

I found a "Green" way to resolve two problems. One is the over abundance of hair coming off our Great Dane/German Shepard. He's 210lbs and still not fully grown. As the photo illustrates, he's not small.


So there is lots of hair and of course its very visible on everything in the house!

While we've had dogs before, I have never had so much hair coming off any of our dogs before. To make matters worse, he had been previously an outdoor dog apparently, so his coat was suited for living in a non-heated environment in an extreme cold climate. This meant his undercoat was quite thick.

What do you do to cope with so much hair shedding onto everything in the house? You collection it!

Yes, I collect the hair. No I haven't lost my mind. I learned of an old method for discouraging rabbits from the garden and it made me realize I should reconsider how I view frustrating situations like the shedding of the dog, which requires me to sweep up hair from the floor and carpets and sweep off hair from my clothing and all the upholstered furniture. By looking at this as an annual harvest of rabbit repellant, the task takes a on a new dimension.


,

Creative Storage solutions

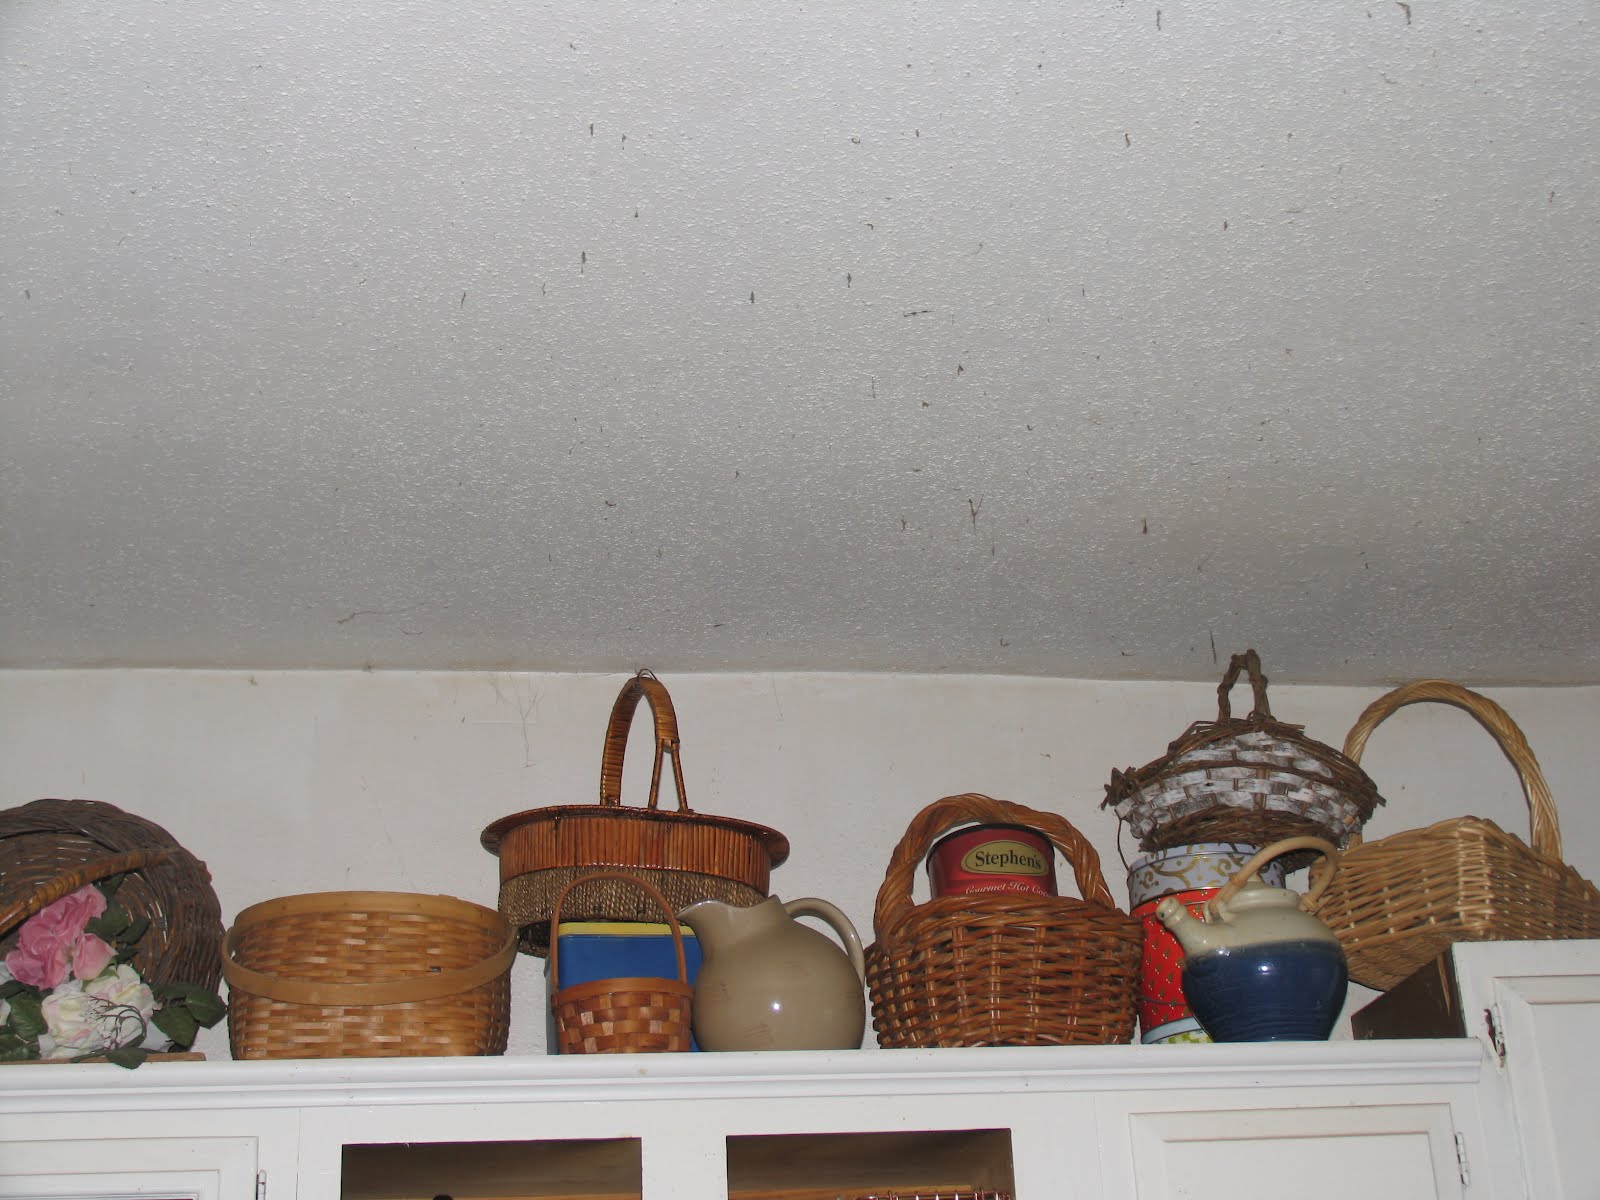
I was working in the kitchen yesterday and looked up at my upper cabinets, and thought about the creative basket storage system I had made several months ago and how I still like it.


I had gathered up baskets free from my local Freecycle group, and initially kept them all. But then a few weeks back, I began sifting through the hoard of baskets and selecting the ones that really best fit the purposes I wanted for them.

Many people wonder what they should use their baskets for beyond decorations, but lets face it baskets haven't always been merely a decorative element. For centuries baskets have been quite functional containers used for storage.


So that is what I chose to once again use them for. I love baskets, I will admit. I love the texture of the patterns and the materials used. So its tough choosing between different baskets unless I have very specific goals in mind.

What I did was simply store all of them up on top of my kitchen cabinets in that empty space that tends to collect dust and cob webs.


Some baskets I stored on the wall, hanging them against the wall using a nail. I especially did this with those with long forms or unique textures that could be best appreciated if looked at from the top of the basket.


While being stored the various baskets also were used as containers. I hid ziplock bags of cookie cutters that I only use once a year and extra coffee cans in the baskets.

Later I sorted through them individually, looking at them with a new eye. An eye no longer blinded by their newness as "my newest find". This helped me a lot in making my selection.


Using the baskets as containers for long term storage items, allows me to conceal ugly airtight containers or bags that I need to have kept in the kitchen, but don't need in my way in some drawer or in a cabinet.

With Easter coming, many will be out buying Easter baskets. Already stores are stocking their shelves for Easter with brightly colored baskets.

However, if you are frugal and selective you can make sure that Easter Basket you buy each year, does double duty for your family. Instead of buying cheap plastic baskets that your kids will have no interest in later on and you will have no use for, consider buying baskets that can be reclaimed for some other use in your own family's home.


You could consider packing the Easter Basket with personalized gifts that fit each child, or adult gift recipient. A Basket that can function in a bathroom as a soap or towel basket. Or if you choose a functional basketry object such as a fishing basket, for your family's young fisherman, you can stuff it full of Easter goodies and fishing supplies.


While the basket is functional as a Easter Basket, it has a long time purpose that make its purchase more suitable and stretches your dollars so that they work for you better.

Also don't think of merely wicker baskets for Easter gift giving.

Consider finding something like these beautiful porcelain dishes and making it into a small Easter basket for your mother or grandmother.


The tray can be filled with soaps or other small items, or even colored eggs then wrapped with foil to make an attractive basket.

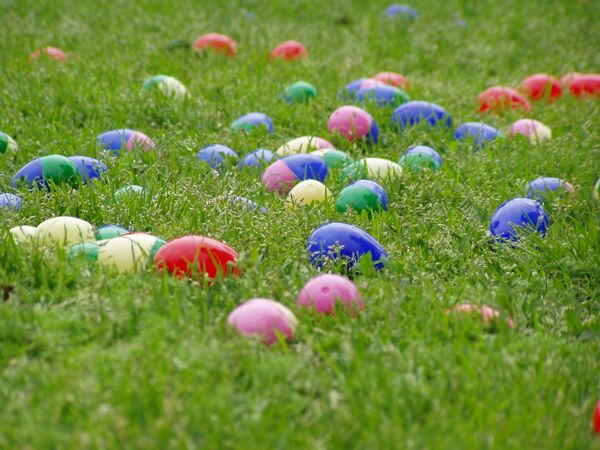
Another consideration when trying to determine what to do for and with your Easter Basket, is what to put into it. Its no longer just colored eggs one finds being put into Easter Baskets.

You can find Easter Baskets with Egg substitutes, such as candy and cookies in the shape of eggs.


Or toys and other non-food items such as books, that are bright and colorful attractions to your young child.

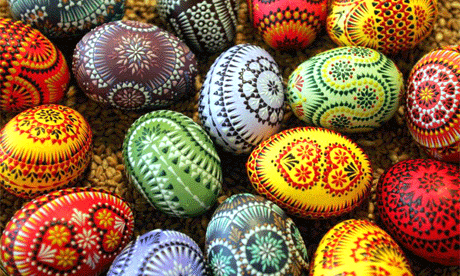
But Eggs do still set the stage for most Easter baskets. This too can be creatively done.


You can make your own Easter Eggs from a variety of items or buy colored plastic eggs from your local retail store.

One of my fondest memories is making my mother "permanent" a Easter Egg Basket. The basket was white plastic with the traditional Easter Basket form and the eggs were real egg shells with their yokes blown out. I then took the empty shells and using a variety of fingernail polish, delicately painted each shell with various colors of polish. The end result was a enamel hardened shell of brightly colored eggs. This made it possible for my mom to dig out the basket from her decorations, each Easter and place it as a center piece on the table. No one worry about soiled eggs!

If you are wanting to keep the Egg tradition in Easter, but not the hassle of dying eggs each year, you might consider this option.

Another option to consider is the use of plastic eggs filled with candies or small toys that the children can go out searching for as part of the Easter Egg Hunt.


For those wanting to have a more religious observance of Easter, you may consider having other activities that aren't affiliated with the eggs or perhaps having the children's baskets filled with books relating to your beliefs suitable to the age of the child receiving the basket. We should always remember that toddlers are far too young to comprehend the deep philosophy of FAITH. For them the bobbles and colors of these secular holidays do pull hard on them. So its often important to make sure the alternative is just as colorful and fun, if you are seeking to discourage the Easter Egg observance.

As a non-Christian raised in a Christian household as a child, I have seen all three worlds and the collision that takes place in our children's lives since the "secular" holiday of Easter is promoted at schools.


I won't debate the origins of secular Easter observances, but it too has faith-based roots. As a non-Christian mother raising two non-Christian children, in a society that blended a monotheistic faith belief regarding Easter with the non-monotheistic faith traditions of Easter... it was hard to really explain to my children. To them it was "all about" candy and colored eggs and new clothes. "What's wrong with that?" Its impossible as a parent to really answer with a deeper answer since it is us then that is bringing in the other philosophies; not the "holiday" observance. To the children its about play and that's all its about.

So its best in the end to make sure you have some form of PLAY and celebration taking place that can distract your children from the aspects of Easter you may not want them to participate in, if there is any at all concerning you.

Whatever you do, PLEASE PLEASE PLEASE do not get an Easter Bunny for your children!


Or Easter Chicks. The harm caused to these animals by well meaning parents and zealous children who don't know what it takes to care for them is so great! While some retailers promote "Easter chicks" remember they grow up into chickens that will need housing and food for up to 20 yrs. Yes they can live that long! If you want chickens, buy them because you want chickens. Not because they are cute and adorable and an icon of Easter.

Consider instead giving your children coloring pages with bunnies and chicks and Easter Eggs. Here are some links to some coloring pages that your kids can enjoy.

Chicks & Eggs in Basket

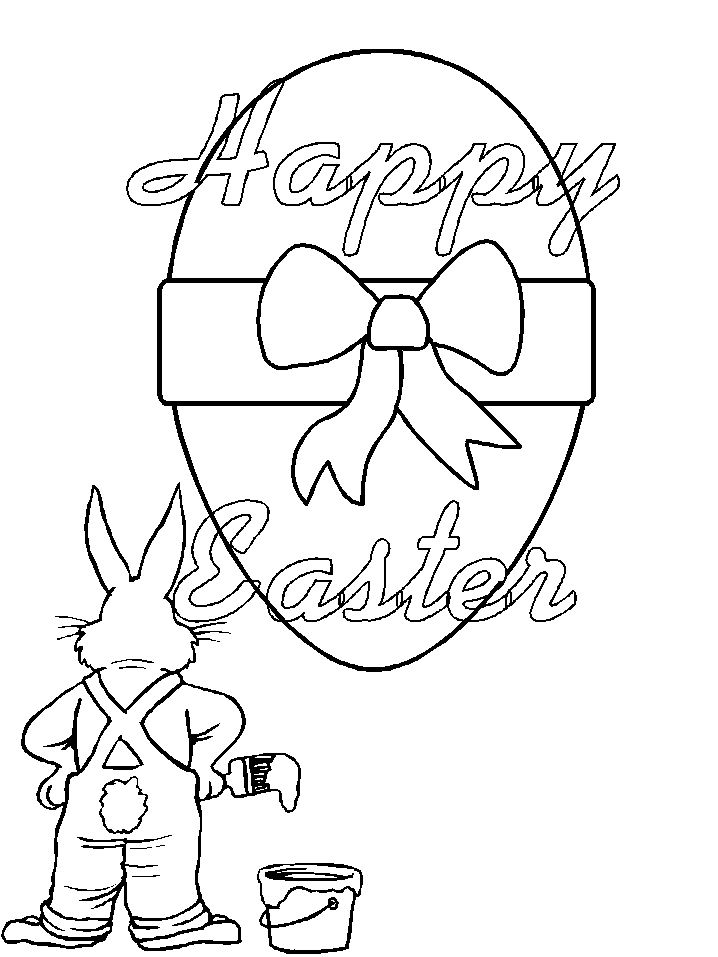
Happy Easter Coloring Page


Coloring Page - Chicks w shells

Beautiful Easter Eggs

Easter hat Duckling - Easter Coloring Page

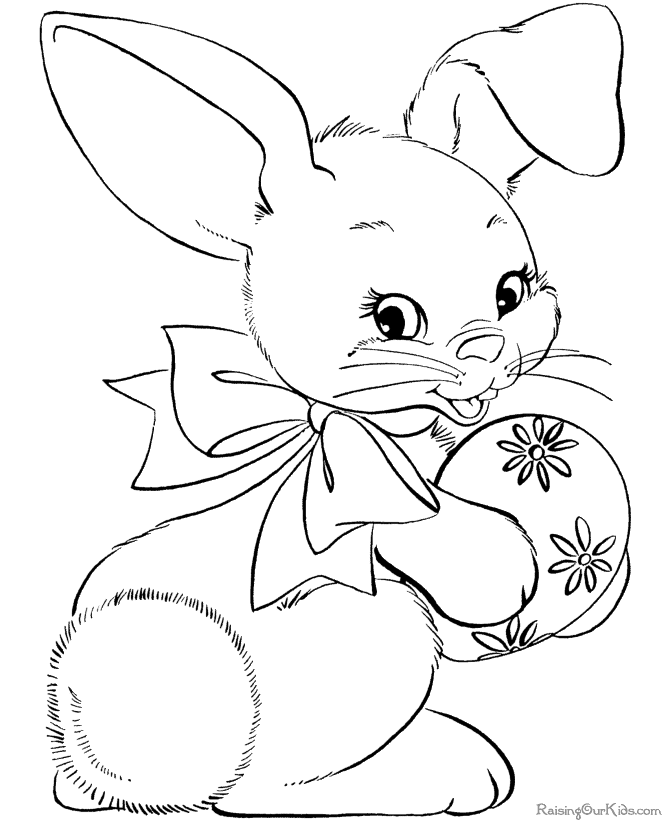
Easter Bunny Coloring Sheet 1


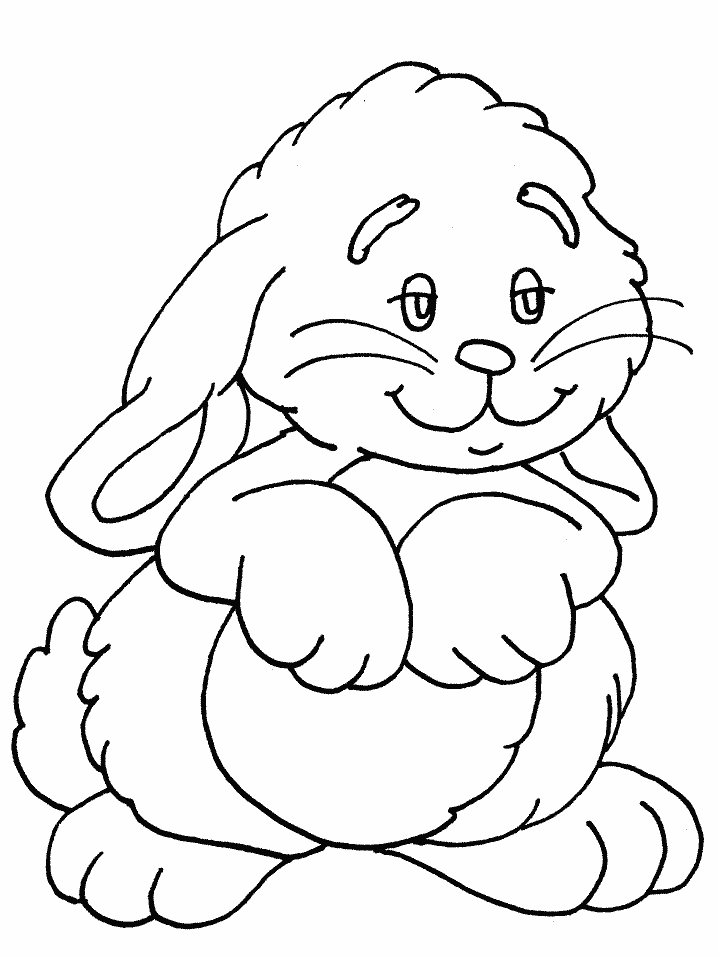
Easter Bunny Coloring Sheet 2

Easter Bunny Coloring Sheet 3

Easter Bunny Coloring Sheet 4

Easter Bunny Coloring Sheet 5

Easter Bunny Coloring Sheet 6

Easter Eggs


Not only can the basket be reclaimed and be given a second life; but so can the egg.
Plastic eggs can be saved and used in craft projects or you can use the hollow halved egg as a mold for plaster eggs for your backyard chicken flock.


You can also take the simple plastic egg and use it as a foundation base for Christmas ornaments whereby you glue beads and other items such as ribbon to its service.


You can take the lowly plastic egg and make jeweled boxes, using glitter or small beads.


Or make a beautiful ornament or place namecard for a special event for children:


Or for an adult parties planned for this spring or summer.

So whatever you end up doing for Easter, consider the multi-purpose potential of the basket/container & the eggs you use as your Easter Basket and use your time and money wisely.

The more creative you are the further your budget may stretch.